
Summary
After you have completed the initial setups required to create Ad-Hoc reports, you can follow the steps below to create a simple AP Check report.
NOTE: The Ad-Hoc Reporting tool offers a number of powerful reporting options that are not currently supported by the Accela Support team. Questions regarding simple report creation can be directed to Accela Support, but complicated reports with multiple table joins may not be supported.
Related Links
Click here for an Ad-Hoc Reporting Overview.
Click here for information on Reporting Role Maintenance.
Click here for information on Creating Advanced Ad-Hoc Reports.
Step by Step
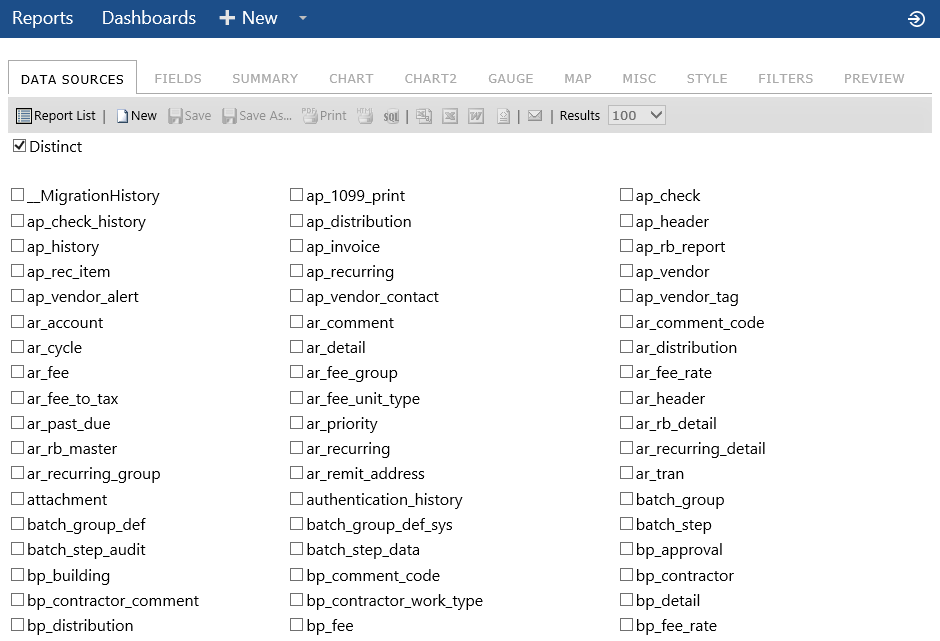
Open Ad-Hoc Reporting and click on the New button at the top to start a new report.

The window that will open will include every table available in the Springbrook system. Information about tables and fields can be obtained by using the Table/Field functionality in Springbrook or the Data Dictionary. Click here for information on Table/Field Help.

The Distinct toggle will be checked by default. It is unlikely you will need to change this. This toggle is intended to prevent the system join from bringing in a single record multiple times. In some cases this can result in getting fewer records than you expect.
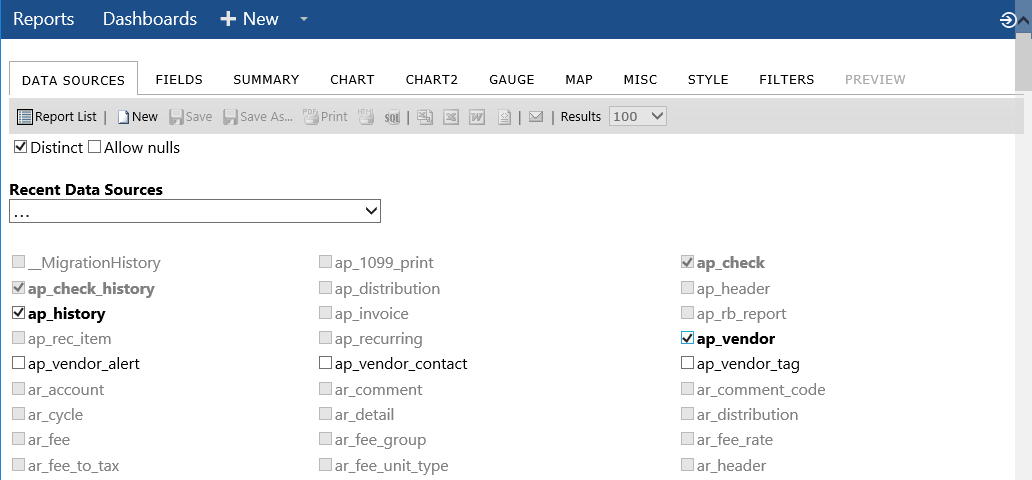
Select the tables you need for the report. The example below is a simple Accounts Payable check report to list checks with amounts and vendor names. You should plan the information desired to make table selection easier.

Once the desired tables are selected, scroll to the bottom of the window and click on the Continue to Fields button  . This will open the Fields tab.
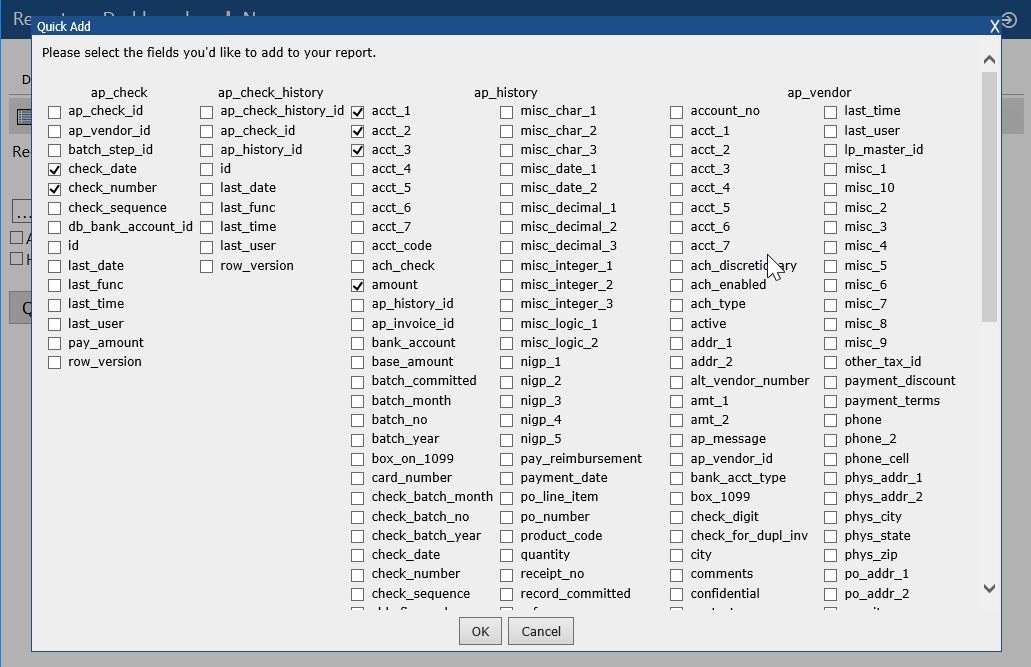
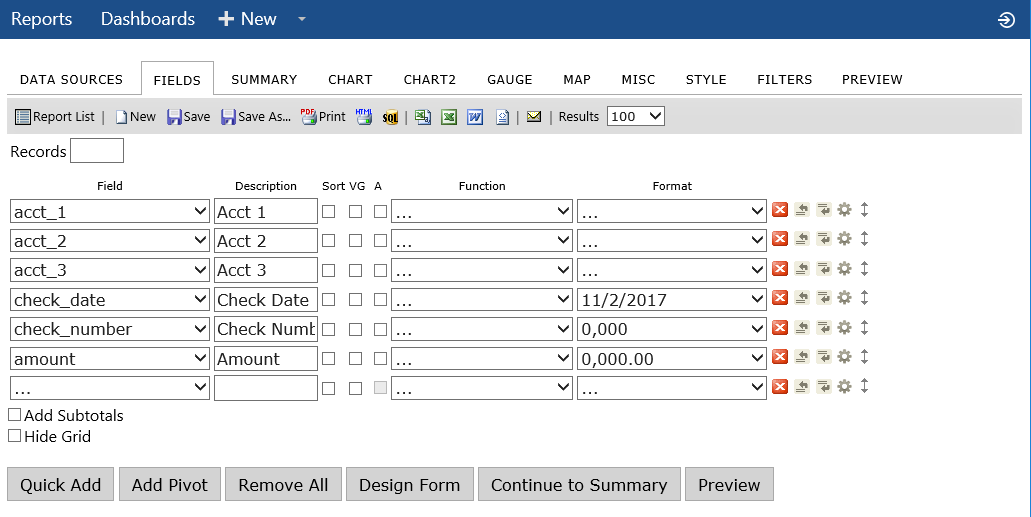
Click the Field drop-down to add the fields individually or use the Quick Add button  to add several at the same time.
When adding fields individually, scroll to the table you want and select the fields you want to include. All tables selected as data sources will display in alphabetical order.

The Quick Add option provides a way to view all tables and fields and to select multiple fields at the same time. You may need to scroll down to find all the desired fields. You should ONLY see gl_chart or any table listed one time. If you see a table listed multiple times, you need to back up to the data source step to avoid errors.

Click OK when the field selection is complete. You can always add more fields to the report later.

You can now use the Preview button  to preview the completed report.
At this point you can also use the Fields tab to rearrange fields, add functions and format how the information is displayed. For more information on those features, please see the Advanced Ad-Hoc Reporting topic.
® All Rights Reserved 2017
Toll Free Support 866-777-0069